Showing posts with label Adaptive Equipment. Show all posts

Saturday, December 30, 2023

DIY Dry Erase Slant Board!

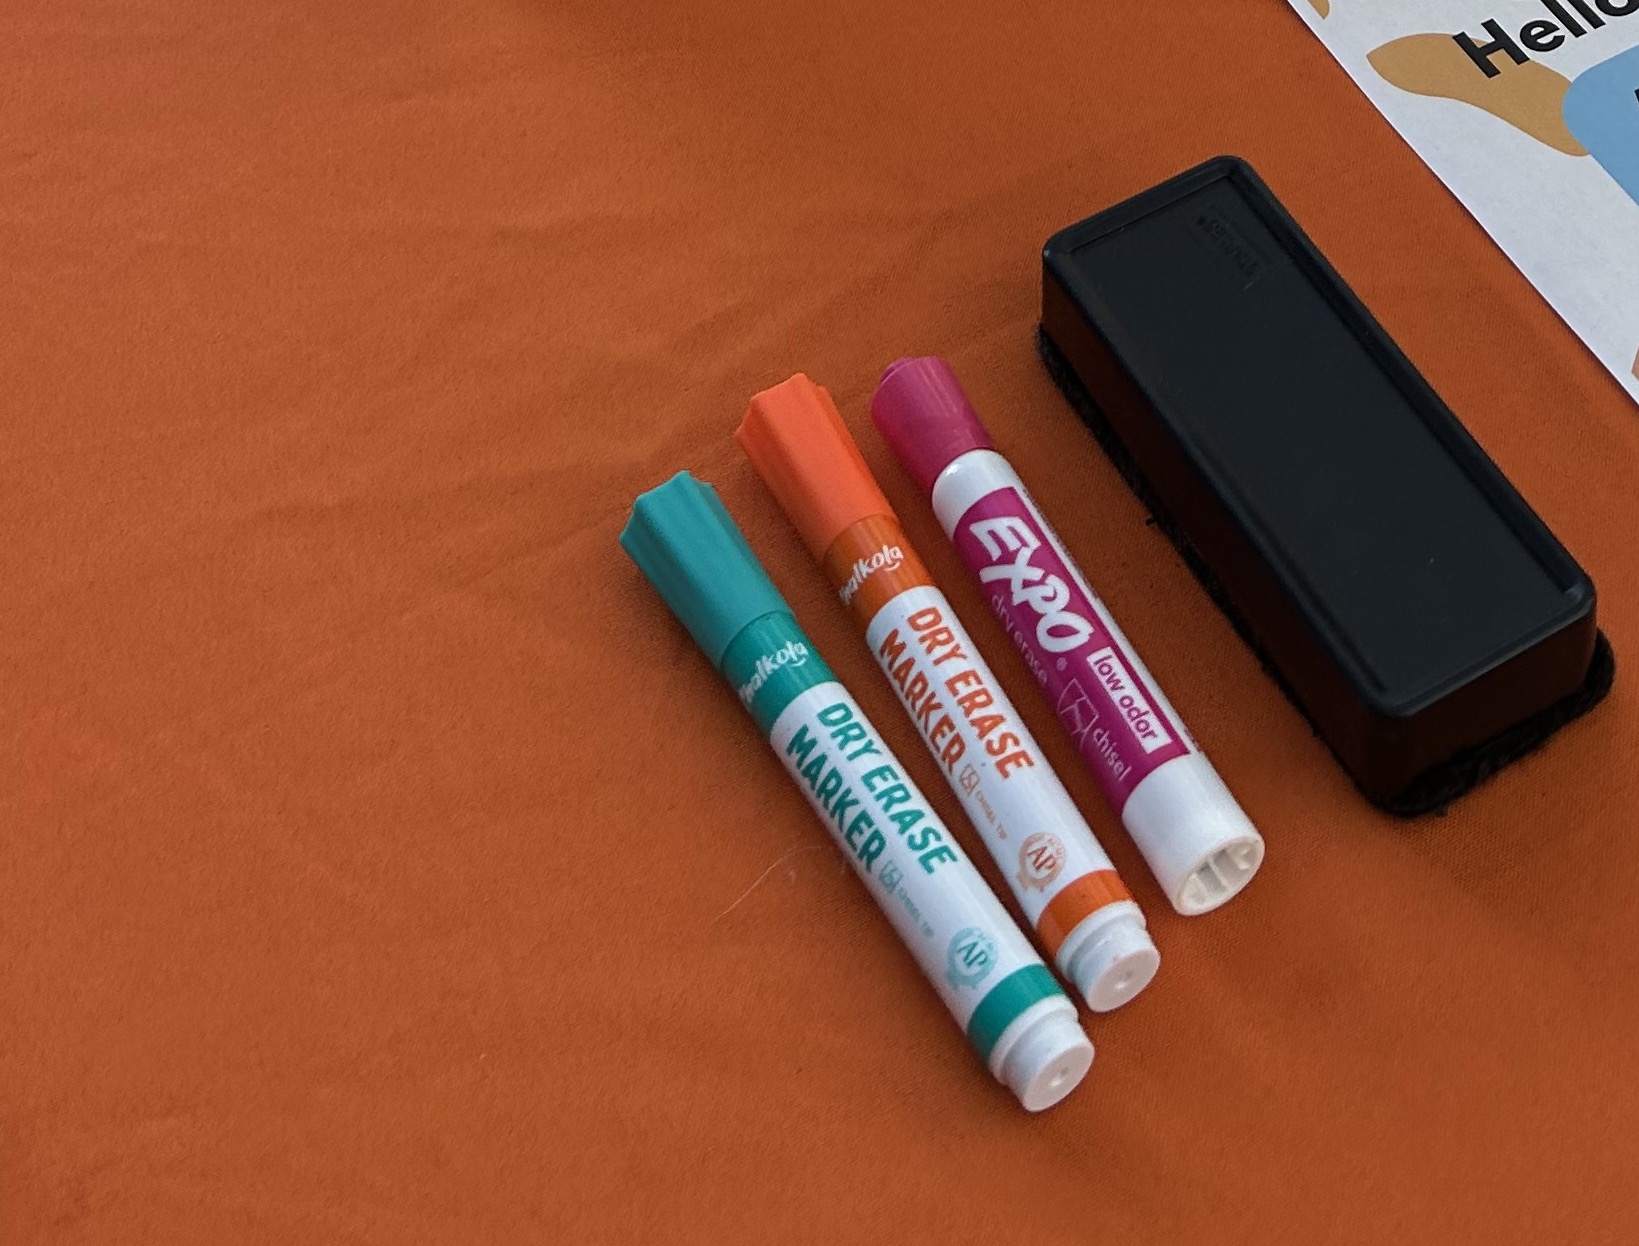
Check out this DIY reusable slant board that does not require paper to write on! The slant board is made from cardboard, and the writing surface is wrapped with a sheet protector so that it can be written on with dry erase markers, and therefore erased and reused. 

Using a slant board for coloring or writing tasks puts the wrist in a slightly extended position which helps a child move their wrist in a fluid motion when forming letters and promotes a more refined pencil grasp. Additionally, a slant board positions the writing surface in the line of vision which promotes an upright posture. Slant boards are also great for reading!

This project was completed by a Master of Occupational Therapy student at The University of Tennessee Health Science Center and posted with permission.

Sunday, January 16, 2022

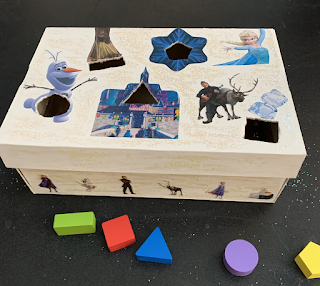
Make your own DIY shape sorter toy!

In this post, I am going to explain how to make a DIY shape sorter toy! You probably have the necessary materials right in your home! A shape sorter is a fun activity that helps to improve visual perception skills, spatial awareness, eye-hand coordination, and fine motor skills. When a child plays with a shape sorter, they engage their problem-solving skills and learn about colors, and shapes.


Needed:
- Shoe Box Scissors
- Pencil, crayons, or marker
- Colorful 3-D shapes or wooden blocks
- Contact paper- Stickers

Directions:
Cover the box and lid with contact paper. Secure the edges of the contact paper in place with tape if needed. Place each shape on the lid of the box, and trace the outline of each shape. Use the scissors or a craft knife to cut out the shapes. Press each shape through corresponding hole to make sure they all fit. Have the child help decorate the box using crayons, markers, and/or stickers, and it’s time to play! Have fun!!!
 

This project was completed by a Master of Occupational Therapy student at The University of Tennessee Health Science Center and posted with permission.
Saturday, September 5, 2015

Adaptive Card Holder for Kids

This adaptive card holder for kids is inexpensive and super easy to make!  A playing card holder is helpful for children with limited coordination, or it comes in handy for "hands-free" card playing!
Materials Needed:
·      Ice cube trays for graded up adaptive equipment
·      1 Styrofoam block
·      Hot glue sticks and hot glue gun
·      Suction cups to secure ice cube trays to table
·      Playing cards

Adaptive Card Holder for Kids Instructions:
Place ice cube trays upside down on table.  Place the individual playing cards on the edge of the ice cube tray as pictured below.  Enjoy the card game!

Stacked Adaptive Card Holder for Kids Instructions:
1.     Turn 3 ice cube trays upside down on the table.
2.     Use hot glue gun to glue each long edge of tray to the bottom tray below it creating a staggered step.  Place the individual playing cards on the edges of the trays.
Raised Adaptive Card Holder for Kids Instructions:
1.     Turn 3 ice cube trays upside down on table.
2.     Use hot glue gun to glue each long edge of tray to the bottom tray below it creating a staggered step.
3.     Place individual playing cards on the edges of the trays.  Hot glue the staggered ice cube tray to the styrofoam block to raise it off of the table.

The project above was completed by one of our Master's of Occupational Therapy students at
 The University of Tennessee Health Science Center and posted with permission.
Dear Readers, If you have found my blog to be helpful, please click here and "like" my facebook page... 
Thanks :) 

Saturday, October 5, 2013

Therapy on a Shoestring Budget: Easy to Make Slant Board


Writing on a slant board is a good thing, because the angle puts the wrist in a nice extended position, and it puts the writing surface in the line of vision which is good for posture. Slant boards can also be useful for reading.

Yes, I'm a big fan of slant boards, but they can be expensive, especially if you purchase one from a therapy supply store.  If you are on a shoestring budget, here's how to make a slant board for around $8.00 to $10.00.

Supplies Needed: 
Large Foam Board (I used a trifold)
Exacto Knife
Duct Tape
2 Large Clip Binders            
Self-Adhesive Flat Bumper Pad

 Cut the foam board into a 30" x 15" long rectangle. Make two "partial" cuts...one at the 11" mark and the next at the 19" so that you can fold the board at each cut. (See photo below)
 Attach duct tape along the lines on the side where the board is still connected.
Add another piece of duct tape along one of the ends of the board so that 1/2 of the sticky surface of the tape is still exposed (See photo).
Fold the board into a triangle and connect the final side of the slant board using the exposed duct tape.
 
Attach bumper pads to the small side and one of the large sides of the board. Your slant board is ready! You can position it in two different directions for different angles!

Dear Readers, If you have found my blog to be helpful, please "like" my Facebook page and follow my blog...I'm trying to get my book published and this would be a great help! Thanks :)