Showing posts with label Hand Strengthening. Show all posts

Monday, February 23, 2026

The Benefits of Play Dough Play!

     Rolling, squishing, pinching, and manipulating Play Dough has so many benefits for toddlers, preschoolers, and young children. In this post, I’m going to focus on two of those benefits: strengthening and bilateral skills.


Developing arm and hand strength is important for growing children, because they are needed for functional skills, such as self-help and fine motor activities. Grip strength and dexterity are needed for buttoning, writing, zipping, and other manipulation tasks. Bilateral skills are necessary for using both sides of the body together in a coordinated manner. This is also called bilateral integration, and it is an important for many activities that your child will carry out in home and at school. If a child has difficulty with bilateral coordination skills, they may end up using one hand alone rather than both hands together, which leads to challenges with certain activities, such as tying shoes, using a knife and fork, cutting with scissors, and buttoning.

     Play dough provide many opportunities to for a child to strengthen their arms and hands and improve bilateral integration. For example, while they are rolling, squeezing, flattening and shaping the dough, they are developing muscles in their little hands and learning to use them together in a coordinated manner!


Sunday, March 4, 2018

Clothespin Activities for Fine Motor Skills

The following clothespin activities will help your child strengthen the fingers, which will likely improve fine motor skills and help with handwriting and other manipulative tasks.  Vary the activity to work on matching colors, improving math skills, and spelling.

You Will Need:
A ruler or paint stirrer
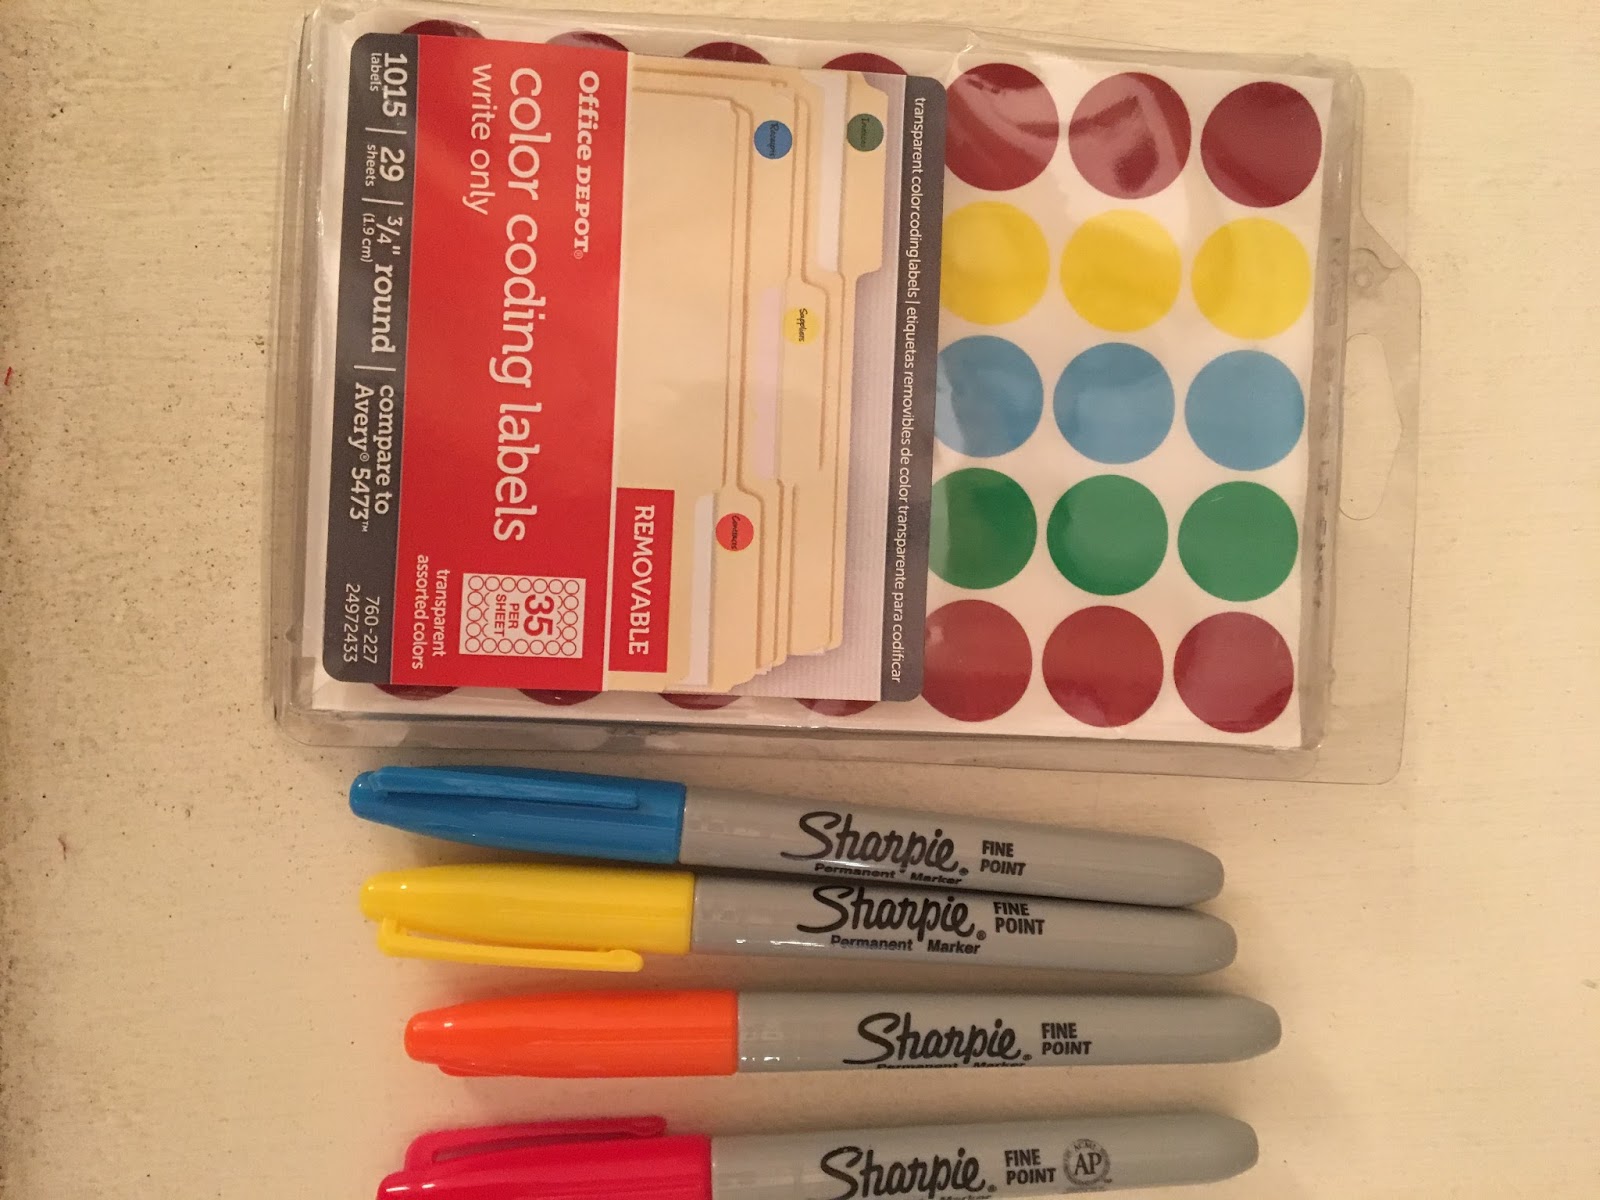
Different colors of Sharpie markers
Different colors of stickers
Clothespins

To Make the Activity: 
Place colored stickers on the clothespins and the paint stirrer.  You can also use a Sharpie to write/draw shapes, numbers, math symbols and letters on the clothespins and paint stirrer. 

Activity Instructions:
Have the child match and place the corresponding clothespins to the sticker colors.
Have the child spell words.
Have the child complete simple math problems.
Have the child can alternate which hands when placing and squeezing the clothespins.
If the child can't differentiate colors/numbers, etc. you can help them identify which one to match.
Position the stick to encourage the child to cross their midline.

Thursday, March 26, 2015

Therapy on a Shoestring Budget- Homemade Fidget/Stressball!


Want to make your own stress ball or fidget? Just follow these easy steps. 
Needed: 
-2 Sturdy balloons (latex free if needed) 
-Small ziplock back of flour

1)    Blow air into one of the balloons to stretch the balloon. Next, release the air from the balloon.  Repeat this step with the second balloon.

2)    Cut the rings off of both balloons that are located at the end of the balloon.

3)    Take the bag of flour and twist it to condense the flour into one corner of the plastic bag.
 
4)    With the help of a partner, have one person hold the twisted bag of flour tight while the other person stretches the balloon over the bag of flour.

5)    Cut off the tip end of the plastic bag and push the bag (or shake it) down into the balloon.

6)    Tie off the end of the balloon. Then, cut the excess balloon off above the knot.

7)    Stretch the 2nd balloon around the flour filled balloon.

8)    Cut off the excess part of the balloon that is used for tying.

9)  Use a permanent marker to add a face or a design of your preference to your newly assembled stress ball. 

10) For different sensory input, use rice and/or beans.

The project above was completed by one of our Master's of Occupational Therapy students at
 The University of Tennessee Health Science Center and posted with permission.

Dear Readers, If you have found my blog to be helpful, please follow my blog (on the right of this page) and click here and "like" my facebook page... 
Thanks :) 

Sunday, September 28, 2014

Tennis Ball Mania!!! Therapy on a Shoe String Budget


The UTHSC Masters of OT students recently completed a number of awesome media projects! For the assignment, each student was given the name of a common household item.  They were instructed to design a creative, appropriate therapy activity for a patient with a specific diagnosis. They did an amazing job! This media project was submitted by Rochelle. Her common house hold item was a tennis ball!

Materials Needed:

Tennis Ball
Colorful Sharpies
Coins or Buttons
Decorative Pieces of Choice (markers, stick-on eyes, etc.)       

Directions:
-Cut a mouth in the tennis ball
-Decorate the ball

-Hold the ball with one hand
-Open the mouth by squeezing the ball
-Place coins or buttons in the mouth using the opposite hand

This activity addresses fine motor skills, bilateral skills, hand strength & motor coordination and addresses tactile awareness while providing proprioceptive input.

The project above was completed by one of our Master's of Occupational Therapy students at
 The University of Tennessee Health Science Center and posted with permission.

Dear Readers, If you have found my blog to be helpful, please "like" my Facebook page and follow my blog...Thanks :) 


Monday, July 21, 2014

Spelling and Strengthening!!!

Do you know of a student who has finger/hand weakness, poor eye-hand coordination and weak spelling skills? If so, you may want to try this "clothespin-spelling" activity.

You'll need:

Plastic clothespins (these require more strength than the wooden ones)
Sticker/Label Paper
Computer
Paint stick or ruler
 Print all of the letters needed for the spelling words using 26 - 28 font size on sticky-back label paper. Cut out each letter and stick it on a clothespin. I like to put the same letter on both sides of the clothespin.
Call out a spelling word and instruct the child to spell the word correctly by placing each letter/clothespin in order. Once she spells the word correctly, have her "sound out" the word.  This activity is good for visual scanning, spelling, finger strengthening and eye-hand coordination.


Dear Readers, If you have found my blog to be helpful, please "like" my Facebook page and follow my blog...Thanks :) 


Wednesday, April 24, 2013

Squeezing and Placing Clothespins for Strengthening and Color Matching

Squeezing and placing clothespins is a great way to strengthen the small muscles in the thumb, index, and middle finger and improve eye hand coordination, which are both important for handwriting and scissor skills. I like to have the child place the clothespins on a  paint stirrer to address bilateral skills. A great way to add a cognitive demand to the task is to use colored clothespins and wrap corresponding colored tape strips around the paint stirrer, so that the child can match color to color. Have fun!


Dear Readers, If you have found my blog to be helpful, please click here and "like" my facebook page...I'm trying to get my book published and this would be a great help! Thanks :)

Monday, March 26, 2012

More Therapy Putty Hand Exercises...Videos Included!

Here are more therapy putty exercises! As I said in my previous post, there are different strengths of therapy putty, so just click on the following links for more information and prices at Amazon.  For a child (or adult) who is quite weak, I would recommend the soft resistance putty. If there is some strength present, go with the medium-soft resistance. For older children, or an adult who has just a bit of weakness, try the medium-firm resistance putty. Most of the students that I work with use the medium-soft resistance.

The following exercise strengthens more tiny muscles that are important for grasp and coordination, and the motion that I'm making as I squeeze the putty with my fingers is called finger adduction.

Here is another great exercise. Shape the putty into a round flat disc and place it on a flat surface. Then place your fingers down on the putty and spread them out and apart slowly. This is very challenging!

And another great exercise is to make a small loop out of the putty and place it around your fingers then spread them apart, slowly stretching the loop and making it larger.


To strengthen the wrist extensor muscles, try the following:


And finally, this is my favorite therapy putty activity for children as well as adults! Hide 5 or 6 small beads in the putty and have them locate the beads using a pincer grasp. Once they locate a bead, they should pull it out of the putty. This is always a big hit!


Have fun strengthening those hands! :)

Dear Readers, If you have found my blog to be helpful, please "like" my Facebook page and follow my blog...I'm trying to get my book published and this would be a great help! Thanks :) 


Love Those Therapy Putty Hand Exercises...with helpful videos!

Weakness in the muscles of the hand can lead to many problems, such as a poor grasp, and difficulties with coordination and manipulation. That's why it's important to carry out therapy putty hand exercises as frequently as possible if weakness is present.

I love therapy putty, which is also called hand exercise putty. I'm going to share a series of videos with you that show how to carry out various hand exercises using therapy putty. There are different strengths of therapy putty, and you can click on the following links for more information and prices at Amazon.  For a child (or adult) who is quite weak, I would recommend the soft resistance putty. If there is some strength present, go with the medium-soft resistance. For older children, or an adult who has just a bit of weakness, try the medium-firm resistance putty. Most of the students that I work with use the medium-soft resistance.

So what do you do? Let me show you! Let's start with a very basic therapy putty exercise that works on strengthening the finger flexor muscles. As you will see in the video, I basically roll the putty into a "hotdog" shape, then pinch it using my thumb and each of my fingers.

Another exercise that's good for flexion and the other tiny muscles in the hand (as well as coordination) what I call "rolling the ball." Just take a smaller chunk of putty and using the fingers on ONE HAND ONLY, roll the putty into a small ball. The less putty that you have, the smaller the ball will be and the more challenging the task. Whatever you do, don't help out by using the opposite hand or the surface of the table...that's cheating!


I will continue in my next post with more therapy putty hand exercises! :)

Dear Readers, If you have found my blog to be helpful, please "like" my Facebook page and follow my blog...I'm trying to get my book published and this would be a great help! Thanks :)