Sunday, November 1, 2020

Fun Motor Planning Activity!


If you are looking for a fun activity that addresses poor motor planning skills, here is just what you are looking for!

 Materials
-Carpet mark-it spots - Available on Amazon or vinyl spot markers - in different colors (These can also be made out of construction paper and secured to the floor with tape.)           

- Strips of paper with circles printed on the in varying order- laminate these                                       

-"Key" with instructions for different motor tasks next to each colored circle- also laminated

How to Play:
Position the carpet mark-it spots in a circle and instruct the child to stand in the middle. The child should draw a card and perform the tasks in the order of the colored dots.  For example, if the card had a purple circle then a red circle, the child would look at the cheat sheet, go to that particular colored circle on the floor, and then perform the each task.


For a neat twist, pay close attention to the child and mirror what he or she does. Then switch it up and have the child copy you!

This project was completed by a Master of Occupational Therapy student at The University of Tennessee Health Science Center and posted with permission.

Thursday, October 1, 2020

Having fun with handwriting!


Check out this DIY slant board that was made using a binder, paper clips, and Velcro strips! This is a nice way to make handwriting practice more fun. A child can practice forming shapes or writing letters, numbers, and words using this DIY gel bag, which is just a Ziploc freezer bag filled with hair gel, food coloring and glitter. (Be sure to let the child pick the color!) Secure the bag closed with a strip of Duct tape and Velcro the sensory bag onto the slant board. The child can start by using their finger to write and then progress to a writing utensil. 

This project was completed by a Master of Occupational Therapy student at The University of Tennessee Health Science Center and posted with permission.

Friday, July 10, 2020

Therapy on a Shoestring Budget: DIY Lacing Shape Cards

These DIY lacing cards are a fun way for a child to work on fine motors skills, bilateral integration (using two hands together), and motor planning! Making them in a variety of shapes and colors will help a child learn to distinguish their differences. You can also use a sharpie to write letters or numbers next to each lacing hole to work on letter and number recognition. Use your imagination to come up with other fun variations!

ITEMS NEEDED:
Scissors, single-hole punch, Colorations Foam Door Hangers, shoe laces, string, or ribbon

INSTRUCTIONS:
Use this shape sheet as a pattern. (The sizes may need to be adjusted.) Trace each shape onto a different piece of foam, and use the scissors to cut them out, and use the hole punch to punch out the lacing holes. (Save the scraps of foam to use with another DIY project that I will be posting about soon.)

If you are using string or ribbon, wrap a piece of tape around each end. Now it's time to start lacing! 

Sunday, June 21, 2020

Sign a petition to support National Tummy Time Awareness Day!


Please click on the link below and sign the petition to support a National Tummy Time Awareness Day!  https://www.petition2congress.com/ctas/national-tummy-time-awareness-day

Tummy time is when an infant spends time on the stomach while awake and supervised. Infants who don’t spend enough time on their stomachs during their waking hours are at risk for motor skill delays and developing flat spots on the head (cranial asymmetry), while tummy time promotes infant development and serves as a preventative factor for cranial asymmetry. An added bonus is that it is a wonderful opportunity to bond with a baby!

Unfortunately, many parents are not aware of the importance of tummy time and the negative consequences that can occur if an infant does not spend enough time on the stomach for play. When infants aren't exposed to tummy time in the first days and weeks of life, they often resist being placed in the position by fussing and crying.

Parents need to understand that it is important to provide their infant with tummy time early on, and doing so will be beneficial to their child in the long run. Having a "National Tummy Time Awareness Day" will increase awareness about the importance of providing infants with supervised tummy time on early in the early days of life and on a regular basis.

Tuesday, April 28, 2020

A Visual Schedule to Help with Challenging Morning Routines


Dealing with problem behaviors in the home setting can be challenging, especially with children who have a diagnosis of Autism Spectrum Disorder. For these children, maintaining focus in order to complete morning tasks independently can be quite difficult, especially when everyone else in the family is rushing around getting ready for the day. 

This is a situation when a visual schedule can be helpful. A visual schedule is an ordered sequence of images that shows a person the steps to follow to complete a task or set of tasks. According to research, using visual schedules with children who have a diagnosis of autism can be very effective and make routines and transitions go more smoothly.
Directions:
- Write out the morning routine on a piece of construction paper. (See the example above.)
- Laminate the construction paper
- Locate various images to represent each task and print them out.
- Cut out the shape of a small star for each task.
- Laminate all of the images and stars.
- Attach the Velcro pieces to the appropriate spots on the visual schedule, images, & stars.

If your child needs prompts to know which task to complete first, second, etc., hand him the image that represents the first task. The child should take the image to the Visual Schedule and attach it to the right of the appropriate task on the schedule, and then he should complete the task. Provide assistance as needed at first, then gradually reduce the amount of assistance that you provide. Once he completes the task, he should place a star next to the task in the “Done” or “Complete” column. Have him continue the same process for all of the morning tasks on the schedule. Be sure to praise him when all the stars have been placed, and he has completed the routine successfully.
 
Hopefully, the use of the visual schedule will help your child be calmer and more organized during challenging activities and routines each day!

This project was completed by a Master of Occupational Therapy student at The University of Tennessee Health Science Center and posted with permission.


Monday, March 16, 2020

My “I Spy” Sensory Box is tons of fun!

Check out this awesome home-made “I Spy” sensory box! This engaging DIY activity is great for addressing visual perceptual skills, especially figure-ground skills. All you need to create the "I Spy" activity is a sturdy shoe box, small beads, and a variety of small items.  Fill the box approximately 1/3 full of colorful beads, and hide the small objects under the beads. Here are some example items:
  • Mini toothbrush
  • Barbie doll clothing pieces
  • Small plastic pieces of food
  • A tiny book
  • A small plastic doll 
As the child finds the hidden objects, you can encourage language by asking questions about each object. For example, “What color is that shirt? What do you do with a toothbrush?”

If the child closes their eyes while locating and identifying the items, this will address stereognosis. To make the activity easier, hide larger objects, and to make it more difficult, hide smaller objects.

This project was completed by a Master of Occupational Therapy student at The University of Tennessee Health Science Center and posted with permission.

Sunday, January 26, 2020

“Feed the Bear” Fine Motor Activity

     This “Feed the Bear” Fine Motor Activity is a fun way for any child to work on their fine motor skills! The opening at the top of the container is the bear’s mouth. Have your child work on grasp and release skills by picking up the various sized fuzzy pom poms to feed the bear.  The smaller pom poms will be more difficult and the larger ones will be easier.  
     Small tongs or tweezers can also be used which will require additional fine motor coordination. The activity could also be made more challenging by having your child grasp and stabilize multiple balls at once in order to promote in-hand manipulation skills. There is a clear opening in the bear’s tummy so it’s easy to see when he’s full! This activity will be fun and motivating for most any young child!
 
Items Needed:
Parmesan cheese container
Brown felt
Glue
Large googly eyes

Directions: Cut out the felt and glue it on the container. Be sure to cut out a hole in the stomach area and don’t forget to add the ears. Once the felt is dry. Glue the eyes in place. It’s time to play!

The projects above were completed by a Master of Occupational Therapy student at The University of Tennessee Health Science Center and posted with permission.

Saturday, January 4, 2020

Teach Buttoning using a DIY Button Board: Make it Fun!

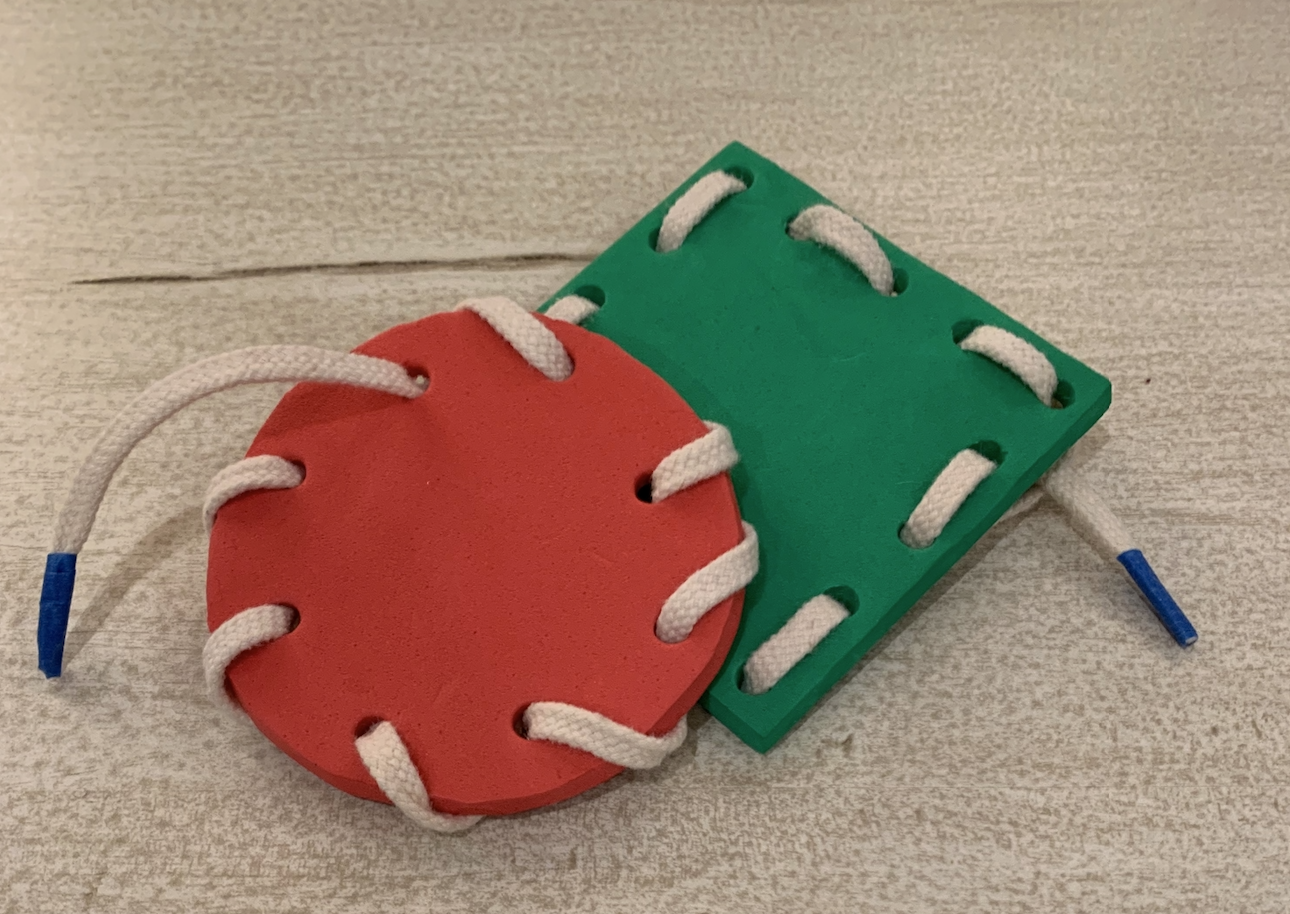
Yes, teaching a child to button can be a fun experience! You might be wondering...how? First of all, don’t try to teach this skill when your little one is getting ready to leave the house in the morning., especially if you are in a hurry. That’s definitely not the time to work on buttoning and other fasteners. Instead, find a time when you can work on the skill using a fun and relaxed approach. You can also make it fun by using a button board.

Practicing on a button board will allow your child to learn and practice the skill away from their body, which makes it easier. Then once he’s learned how to manipulate the button and fabric to complete the buttoning task, he will feel more confident. That’s the time to switch over to practicing on clothing.

Skills needed for buttoning:
Able to pick up small objects using the thumb and index finger (pincer grasp)
Brings hands together at the middle of the body (midline)
Uses both hands together in a coordinated manner (bilateral skills)

Tips for teaching buttoning:

Start with large 1 to 1 ½-inch buttons, and progress to smaller ones. Initially, the fabric that the button goes through should have some stiffness to it. (You can add stiffness or body to fabric by attaching fusible or iron-on interfacing to it.)

Now that you know how to teach buttoning, it’s time to make a button board!

Supplies Needed:
Colorful large (1 to 1 ½-inch) buttons
                             
Felt fabric- (Let your child select the colors!)
                             
Fabric glue or hot glue
Fusible or Iron-on interfacing
Cardboard


1. Have your child select the “theme” for the board. (For example, see the giraffe and snowman.)
2. Cut a piece of cardboard into a rectangular shape (approximately 10-inches x 14-inches)
3. Cut out a piece of felt slightly larger than the cardboard. (12-inches x 16-inches)
4. Glue the felt onto the cardboard. Be sure to wrap the fabric around the edges of the cardboard so that it will look neat.
5. Using different color(s) of felt, cut out the shapes or forms needed for your theme, and glue those felt pieces in place on the board.
6. Iron the interfacing onto the back of the fabric or felt pieces that you plan to use for the button holes. Once the fabric has cooled, cut out the shapes or forms of your choice, then cut the appropriate sized button holes in each one.
7. You’ll need to use a sturdy needle to sew the buttons onto the board.
8. Use a Sharpie marker and other felt pieces to decorate it even more!

Finally, have fun working on those buttoning skills!

The projects above were completed by a Master of Occupational Therapy student at The University of Tennessee Health Science Center and posted with permission.